Wix Quick-Start up Guide
Step 1: go to wix.com and log in or sign up for an account.
Step 2: while on your account, click "create site" to get started.
Step 3: you will see a page which asks which type of website you would like to create, choose which best suits your needs. (I went with general profile).
Step 4: you will be asked to create a website through a series of questions or through a template editor. I recommend using the template editor as it is the one I will be using on this guide.
Step 5: you will be shown many templates which you can use to begin working on your website. While you are welcome to use any template, for the sake of being thorough, I will be starting from scratch with a blank template. When you've found a template that you are ready to use, hover over it and click "edit" to get started.
Step 6: Begin by clicking on the blue "+" icon on the upper left of page that says "add to site" and under the "text" option, you will be able to add a heading by simply clicking on "heading 1" or dragging and dropping it where you would like it to be.
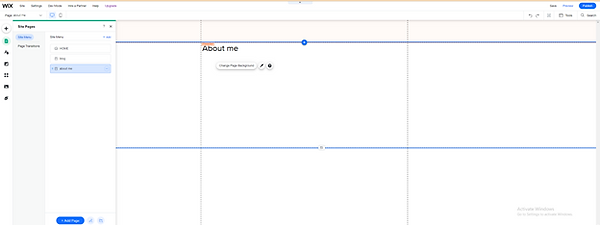
Step 7: edit and customize the header so that it suits your purpose and taste.
Step 8: to create two new pages you will have to click under the plus button on "menus and pages" then click on the blue "+ Add Page" button.
Step 9: After clicking "+ Add Page" , you will see template options for the two new pages or you can click on "+ Blank Page" to start from scratch. By this point, you might have a style you're going for and may be better off choosing a template with a similar style to your home page to save time.
Step 10: you can title your new page after deciding on a template or after clicking "+ Blank Page."
Step 11: if you chose a blank page, you can follow step 6 to add a title. If you chose a template, you will be able to click on any titles or headers to edit them to your liking.